EQUIPMENT GUIDE For electroacoustic flutists
For many flutists, the idea of working with microphones, wires, and speakers is a daunting one. Understanding the basics can go a long way towards feeling comfortable and confident enough to take the electroacoustic plunge. The following equipment guide is intended to offer a clear explanation of the basics.
Types of Electroacoustic Flute Electronics
There exist two general categories of electroacoustic repertoire: music for fixed media/tape/backing track and acoustic instrument(s), and music for live electronics and acoustic instrument(s). Pieces may include just one or both of these types of electronics. When a piece is written for fixed media and live instrumentalist, the live instrumentalist performs with a pre-recorded audio file. When a piece is written for live electronics and live instrumentalist, the instrumentalist’s sound is manipulated in real time and/or the instrumentalist performs along with audio that is manipulated in real time. The pieces I composed for my album, Backstory, include both live electronics and fixed media, depending on the piece.
Flute and Fixed media Equipment Setup
Equipment needed to perform an electroacoustic piece depends on whether it calls for live electronics and/or fixed media. To perform works that call for fixed media, generally this is the basic equipment you will need:
· A device to play the fixed media file from. This could be a computer/laptop, phone, tablet, CD player, MP3 player, or any device that plays audio files.
· A set of speakers connected to the device playing the fixed media file directed towards the audience and, if necessary, a monitor speaker directed back at the performer. Many of the works for flute and fixed media on this album do not require a click track if the performer is able to hear the fixed media file well enough.
To control the balance between the fixed media and live flute in addition to adding live reverb, the live flute may be amplified. I find that miking the live flute helps it blend better with fixed media sounds. To accomplish this, I would recommend the following setup:
· A device to play the fixed media file from.
· Dynamic microphone (this choice will be explained in the following section) and microphone stand.
· Optionally, one could use a Digital Audio Workstation (DAW) on a computer/laptop/device or a live effects mixer to add live reverb to the flute microphone input.
· XLR cable with male and female ends to connect the microphone to the audio interface or mixer.
· An audio interface or mixer connecting the computer, microphone input, and speaker output. One of the least expensive options for a basic audio interface with one XLR analog input and one Dual RCA stereo analog output is the Behringer U-Phoria UM2 USB Audio Interface. Audio interfaces range in quality and varying quantities of available inputs and outputs; choose one that fits your goal functionality. You could also use something like the Mackie Mix12FX 12-channel Compact Mixer with Effects, which comes with even more live performance versatility and the ability to easily add live effects/reverb right on the mixer.
· A set of speakers connected to the computer directed towards the audience and, if necessary, a monitor speaker directed back at the performer.

Flute and Live Electronics Equipment Setup
To perform works that call for live electronics, generally this is the basic equipment you will need (although there are many pieces for live electronics that might call for different setups):
· A laptop onstage or offstage if the flutist is using someone else to start/stop the patch and monitor levels
· Software: Max/MSP/Jitter, also known as Max, running a live electronics patch. Max is a visual programming language developed by software company Cycling ’74. To find computer system requirements to run Max, visit https://cycling74.com/downloads/sys-reqs.
· A dynamic microphone and microphone stand
· XLR cable with male and female ends
· An audio interface to connect the microphone to the laptop.
· A set of speakers connected to the computer directed towards the audience and, if necessary, a monitor speaker directed back at the performer.
For more detailed information on how to work with Max, download my piece Atmosphere for Flute and Live Electronics and read the program notes and equipment guide.
Types of Microphones
Microphones are transducers, which are devices that convert acoustic energy into electrical voltages that may be amplified. There are three basic types of microphones: dynamic microphones, condenser microphones, and ribbon microphones.[1]
A dynamic microphone is a microphone that uses electromagnetic induction to create output signals. This means that when sound pressure waves manually move a thin wire coiled within a magnetic field, analogous audio output signals are produced.[2] These signals can then be amplified. Dynamic microphones work well in electroacoustic flute live performances since they do not require phantom power, and thus are not prone to feedback.
Ian Anderson, electroacoustic flutist of the British rock band Jethro Tull, recommends the Shure SM58 due to its peak response of 8-10 kHz. Anderson goes on to say, “This, combined with the greater rejection of the familiar ‘golf ball’ pop shield makes, in my opinion, the 58 the mic of choice to play into for stage use.”[3] That said, part of the reason he likes this microphone so much is that he performs with such huge sound pressure levels (SPL) around him that he must use a very rugged and durable microphone. While the works on Backstory do not call for such high sound pressure levels, I share his penchant for the Shure SM58. It is a relatively inexpensive, durable option that avoids feedback during live performance.
Like dynamic microphones, ribbon microphones also work by using electromagnetic induction but instead of using a thin coil, ribbon microphones use an extremely thin aluminum ribbon suspended in a magnetic field. Since the signal output produced by this thin ribbon is much smaller than the signal produced by a coil, a step-up transformer boosts the signal.[4] I do not personally own or use ribbon microphones as they tend to be expensive and very fragile.
Condenser microphones operate using the electrostatic principle instead of the electromagnetic principle.[5]These microphones work when a power supply (note the difference here compared to dynamic microphones) is applied to a movable diaphragm parallel to a fixed backplate. When sound waves move the front charged diaphragm, the difference in distance between the diaphragm and the backplate creates a change in voltage, thus producing an output signal.
Condenser microphones tend to be more expensive and fragile than dynamic microphones as well, but they can still take high SPLs, allow for more choice in polar patterns, have a high-fidelity sound, and have a pretty consistent frequency response across a wide range of frequencies. Some electroacoustic flutists enjoy using condenser microphones that either clip onto the instrument or are attached to a headset. Electroacoustic flutist Melissa Keeling enjoys performing with a clip-on K&K Silver Bullet condenser mic with a 1/4” output, enabling performance with effects pedals. She states that, “As this is a directional condenser mic, it should be pointed towards, and be close to, the embouchure hole. Keep the microphone out of the direct path of your airstream to avoid extraneous air sounds from being amplified.”[6] Keep in mind that with this microphone, quick instrument changes will be impossible seeing as the microphone would have to be carefully transferred to the new instrument. Powered directional condenser microphones also require phantom power to work; this one is battery-powered and I would worry about battery death mid-performance.
The other downside that I have found to using condenser microphones in live performance, especially with live electronics where feedback loops are already programmed into Max patches, is that painful feedback occurs quite frequently if too much sound from the speakers is picked up by the microphone. Whichever microphone you choose to use, practice using it and setting it up in different settings often. Comfort using necessary equipment is half of the battle when learning and performing electroacoustic flute music.

Microphone Placement Techniques
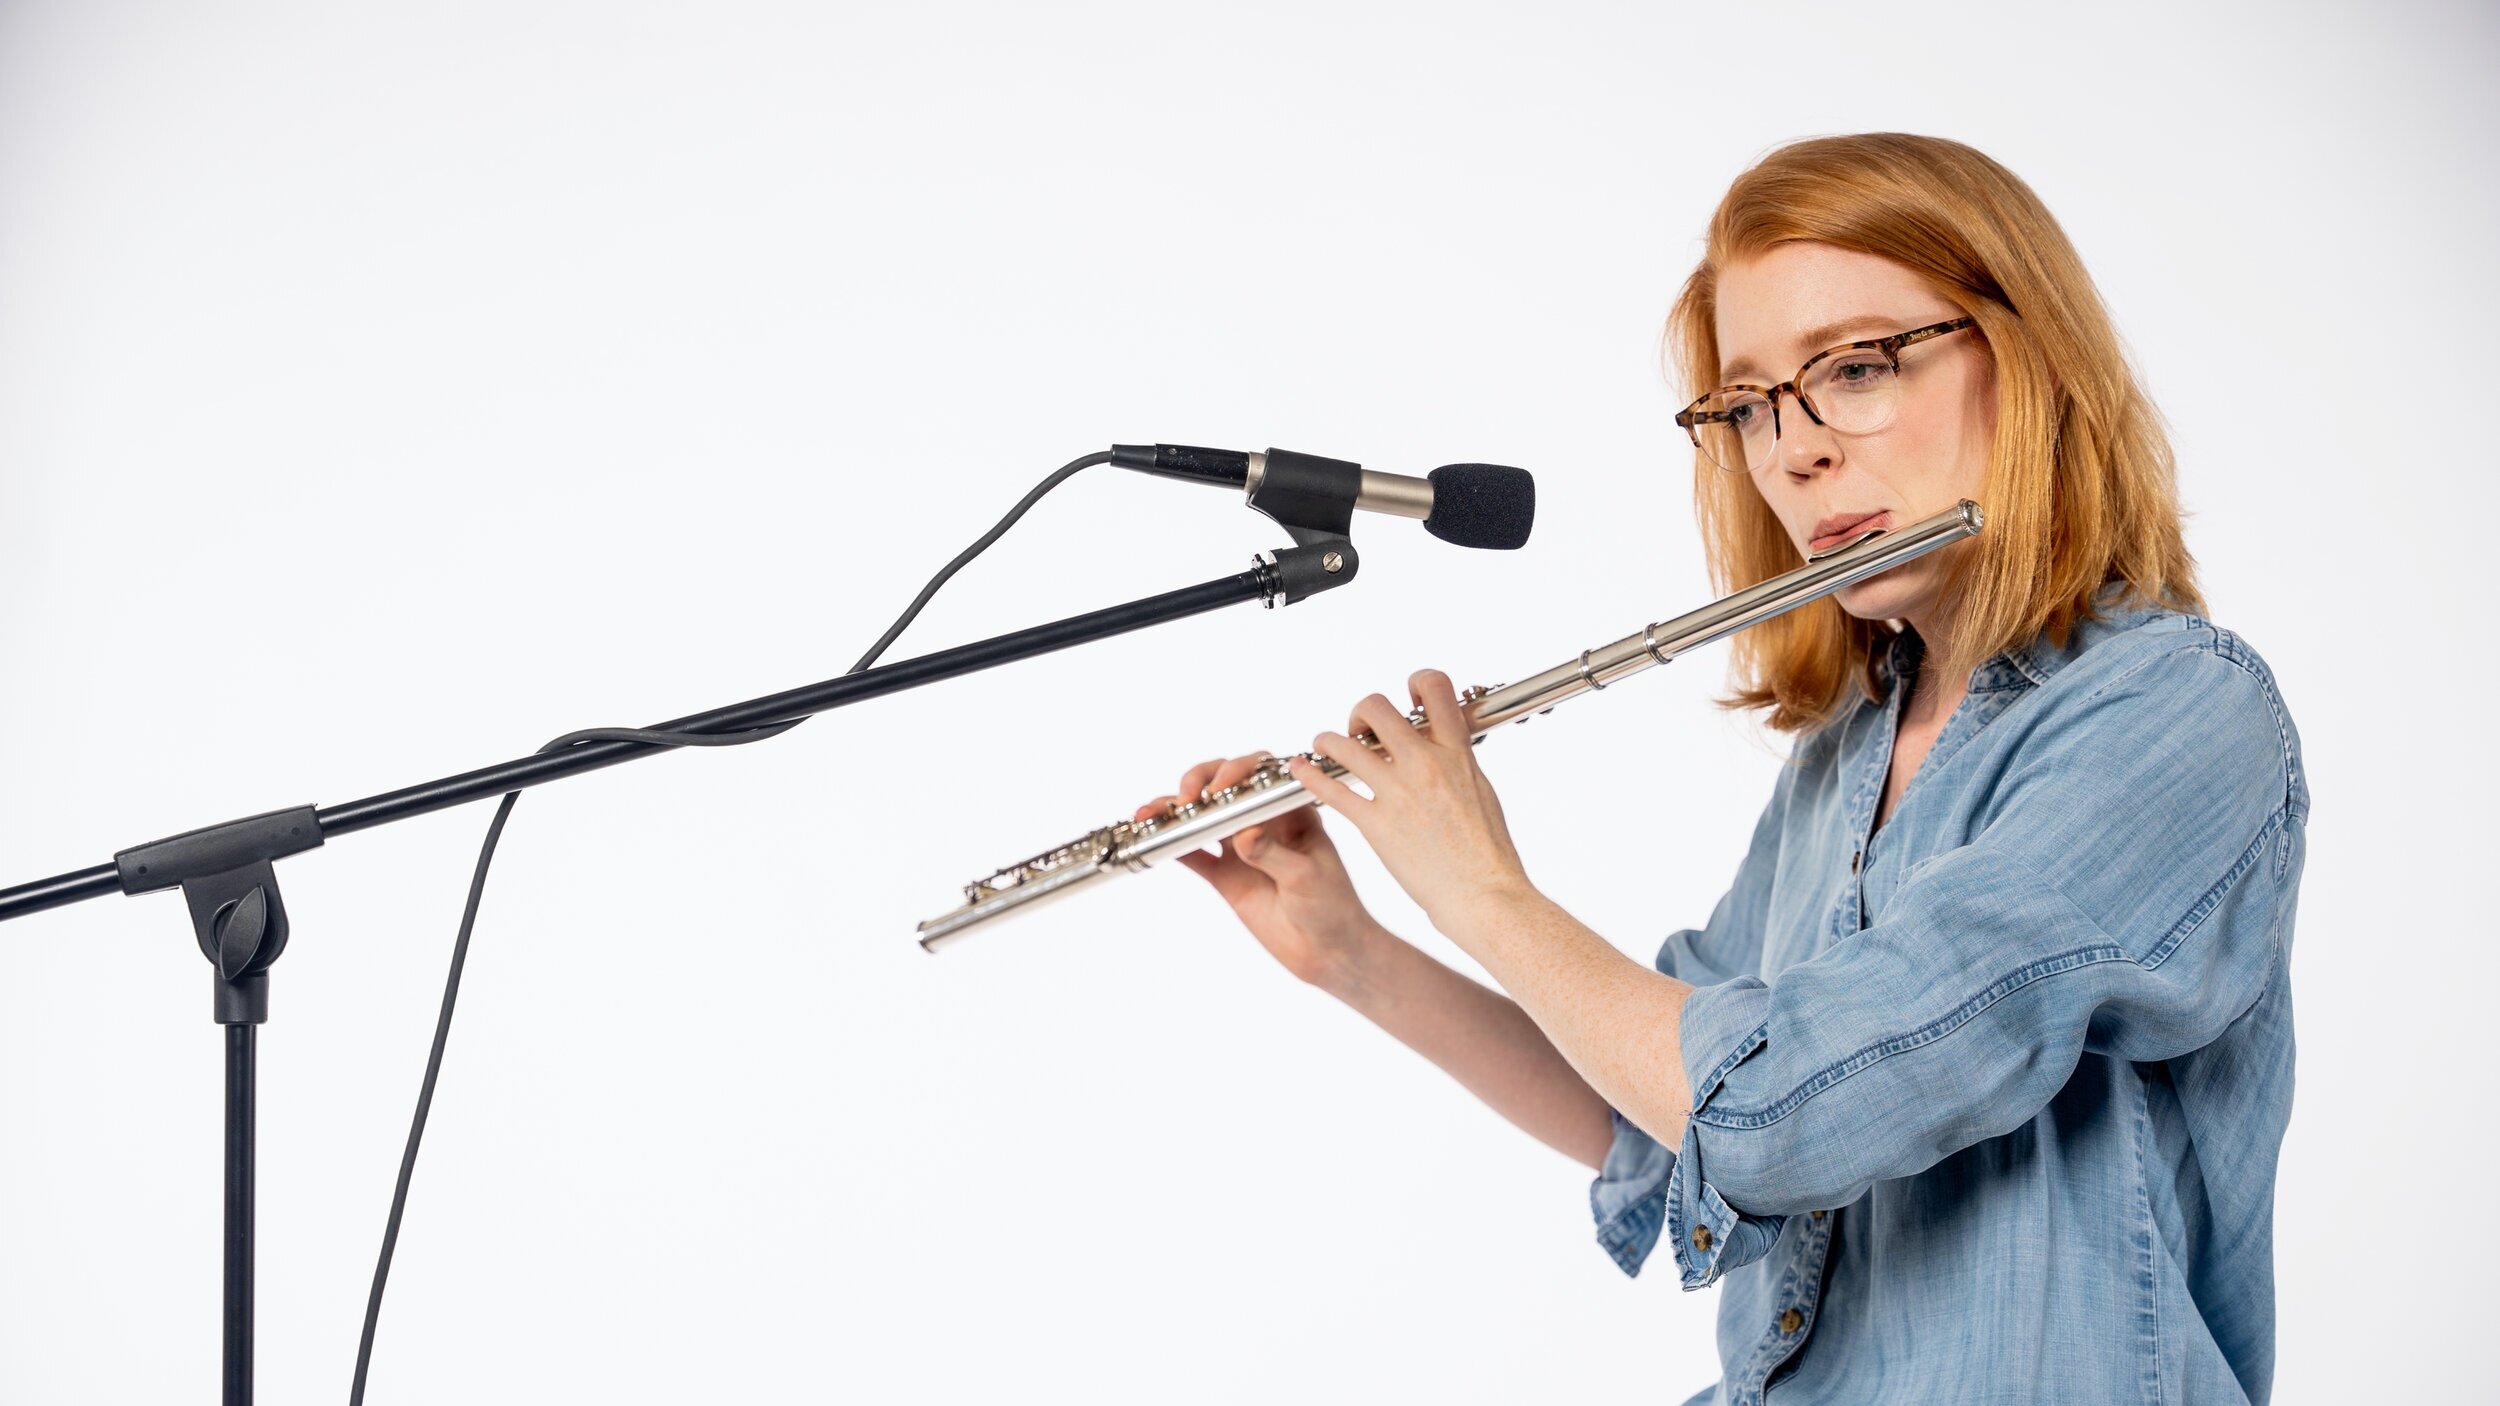
Various preferred methods exist for close-miking a flute. The sound created by a flute radiates roughly along the player’s line of sight for frequencies up to 3 kHz.[7] For sounds above 3 kHz however, the sound moves outward to the player’s right by about 90 degrees. Huber and Runstein posit that due to this slightly offset sound emanation, the microphone should be placed so that it is pointed at the part of the flute located 1/3 to 1/2 the distance from the embouchure hole to the footjoint.[8] They also assert that the distance between the microphone and the flute should range from 6 inches to 2 feet.
Ian Anderson advocates for playing with a distance of about 4-5 inches between the embouchure and the microphone if not performing with loud bandmates.[9] Melissa Keeling also advocates for a small distance between the microphone and flutist, saying “for most situations, the trick is to use a powerful microphone at a very close range (the flute should be almost touching the microphone). This way, the microphone doesn’t pick up sounds from other musicians.”[10] Anderson warns that putting more distance between the flutist and a condenser microphone may cause more feedback. The risk of feedback is why I prefer to use dynamic microphones in live performance, which are not supplied phantom power and thus, are not as prone to feedback. Even if using a dynamic microphone, however, make sure to place the microphone(s) behind any speakers onstage in order to further decrease chances of feedback.
Solo Electroacoustic Flute Stage Plot Template

[1] David Miles Huber and Robert E. Runstein, Modern Recording Techniques (New York: Routledge, 2018), 106-107.
[2] Ibid..
[3] Ian Anderson, “Ian Anderson on the Amplified Flute,” http://jethrotull.com/the-attic/ians-instruments/ (accessed February 10, 2021).
[4] Huber and Runstein, Modern Recording Techniques, 107.
[5] Ibid., 109.
[6] Melissa Keeling, “Flute Amplification,” https://www.flutespecialists.com/flute-amplification-by-melissa-keeling/ (accessed February 12, 2021).
[7] Huber and Runstein, Modern Recording Techniques, 164-165.
[8] Ibid..
[9] Anderson, “Ian Anderson on the Amplified Flute.”
[10] Keeling, “Flute Amplification.”